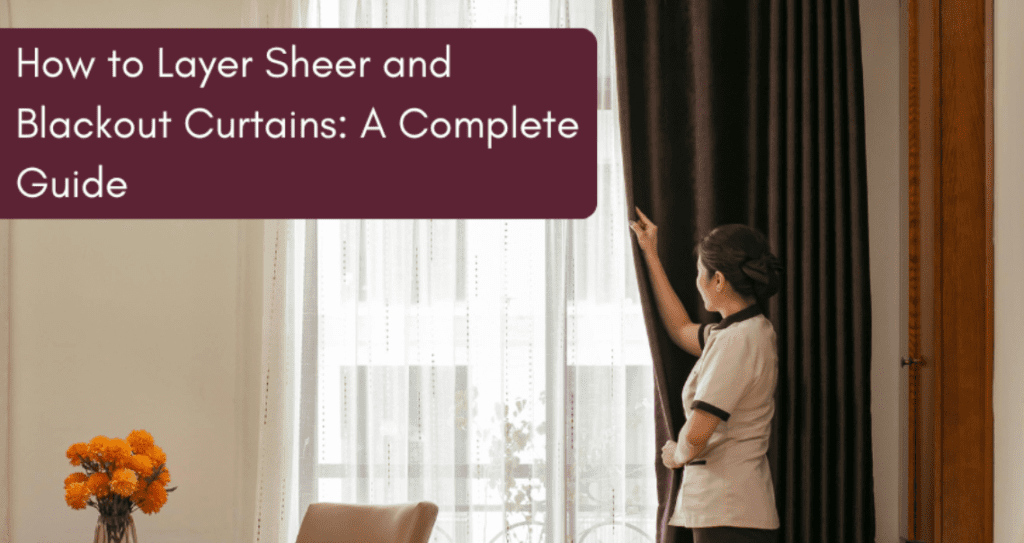
When talking about window treatments, you need a style that is a perfect balance of functionality and visual appeal. With such a type of curtain styling, the entire look of the room changes. Out of many styling options, the best one was and still is the layering of sheer and blackout curtains. They are not only aesthetically pleasing in any room décor, but they also offer dual practicality. So, the real question is how to layer sheer and blackout curtains, and is there a complete guide? The short answer is, yes, we do have the guide for you today in just five simple steps.
Why You Should Layer Curtains?
Layering of the curtains not only brings about an aesthetic feel, but it is also versatile with its practical approach. When you layer the sheers with blackouts, you get a window covering that lets you have light filtration during the day and have total light blockage during the night. You get to experience the perfect level of thermal insulation, whether at night or during the day. This curtain layering method works for almost every room of a place, whether a bedroom, a living room, a nursery, or offices.
5 Easy Steps To Layer Sheer And Blackout Curtains
This here is our complete guide on how to layer sheer and blackout curtains. All you need is to follow these 5 simple steps to get the best window curtain décor.
Step 1: Choose the Right Curtain Rods
Start the layering of the curtain with a choice of the proper hardware. The right option is a double curtain rod that is designed to hold these two different sets of curtains. You can hang the sheers on the inner rod and the blackout ones on the outer rod. This curtain layering setup will make it easier for you to draw or close each curtain layer individually. If the double rod is not within your budget, as they are costly, you can hang two separate simple curtain rods. One rod should be fitted closer to the wall for the sheer curtains, and the other a few inches in front with blackout drapes. Both these setups allow you to have the same effect and functionality.
Step 2: Pick the Perfect Sheer Curtains
Sheer curtains are usually made from lightweight fabrics. This includes options like organza, voile, and chiffon, all of which can be found in neutral shades. The primary functionality of these sheers is to diffuse the natural light and give that airy ambience to your room. When you select the sheers, choose one that complements your existing wall and interior color theme. You can opt for textured, embroidered sheers for visual depth. It’s better to have a curtain with a few extra widths to get that fuller, luxury look. Your choice must be a good one as these sheers will be the first visible layer during the daytime.
Step 3: Choose the Right Blackout Curtains
Your blackout drapes are the window coverings that feature thick fabrics or have a lining of a superior light blocking material. This will help reduce that outside noise, offer thermal insulation, and most important, block that bright sunlight. All these properties are what make these drapes a suitable choice for bedrooms, kids rooms and busy workspaces. They offer that superior light blockage. Your choice of blackout curtains must include picking the right colors that pair with the sheers for a layered effect. For blackout lining, choose a high-quality option for 100% light blockage. For that polished look for these drapes, choose grommet tops or pinch pleat curtain styles. For a room that faces the sun directly and gets high temperatures, it’s best to go for thermal blackout curtains.
Step 4: Installation Tips for a Perfect Finish
The right curtains installation of these layered curtains is needed to achieve that designer-style finish. To achieve this, you need to follow some tips, like hanging the curtain rods as close to the ceiling as possible. This will create the illusion of the room being bigger than it actually is. When hanging these curtains, make sure the blackout ones touch the floor to create a dramatic, elegant look. Sheer window coverings must lightly touch or slightly puddle on the floors. You must take care in hanging the sheers; they must always be behind the blackout coverings. When the sheer curtains are drawn, they must have enough space ahead to flow freely in the air.
Step 5: Styling and Decorative Accents
With both the sheers and blackout window dressing up on the curtain rods, it’s time to style them. If you wish to make this window covering setup stand out, we recommend the use of decorative tiebacks to hold the blackout drapes during the day, letting the sheer dressings flow freely. You can add a valance to get a classical window décor look that will hide the curtain rod as well as add to thermal insulation. You can layer patterned blackout drapes over simply plain sheers for a contemporary effect.
Practical Benefits of Layered Curtains
Not only a visual appeal, these layered curtains offer a variety of practical benefits. Here are some of them:
- You get better energy efficiency with blackout drapes, keeping the room cooler during the summer.
- With a dual layer of curtain fabrics, you get that extra thickness for noise dampening for calming interiors.
- You can enjoy the privacy during the day without blocking light; simply draw the sheer curtains.
- Layering lets you have full control over how much light can enter your living spaces, a perfect option for day or night sleepers.
Conclusion
The above is a detailed guide on how to layer sheer and blackout curtains for your home or office. The right fabric choice, the optimal curtain rod setup, and proper styling; you need all of this to create that window décor statement. This is a timeless window styling trend that not only adds to the visual aesthetics of the room but also to practical benefits.


